

It’s summer in the U.S. And you know what that means! TOMATOES!!! I was the happy recipient of several pounds of these lovely fruits this weekend from my daughter’s garden. But they were pretty ripe so I knew I needed to find a recipe to make good use of them quickly. I decided to make tomato soup. After perusing several recipes online, I came up with a recipe that incorporated the ingredients I already had on hand. If you’ve never made homemade tomato soup, let me encourage you to try. It takes a bit of prep, but it’s super easy and super yummy!
Ingredients
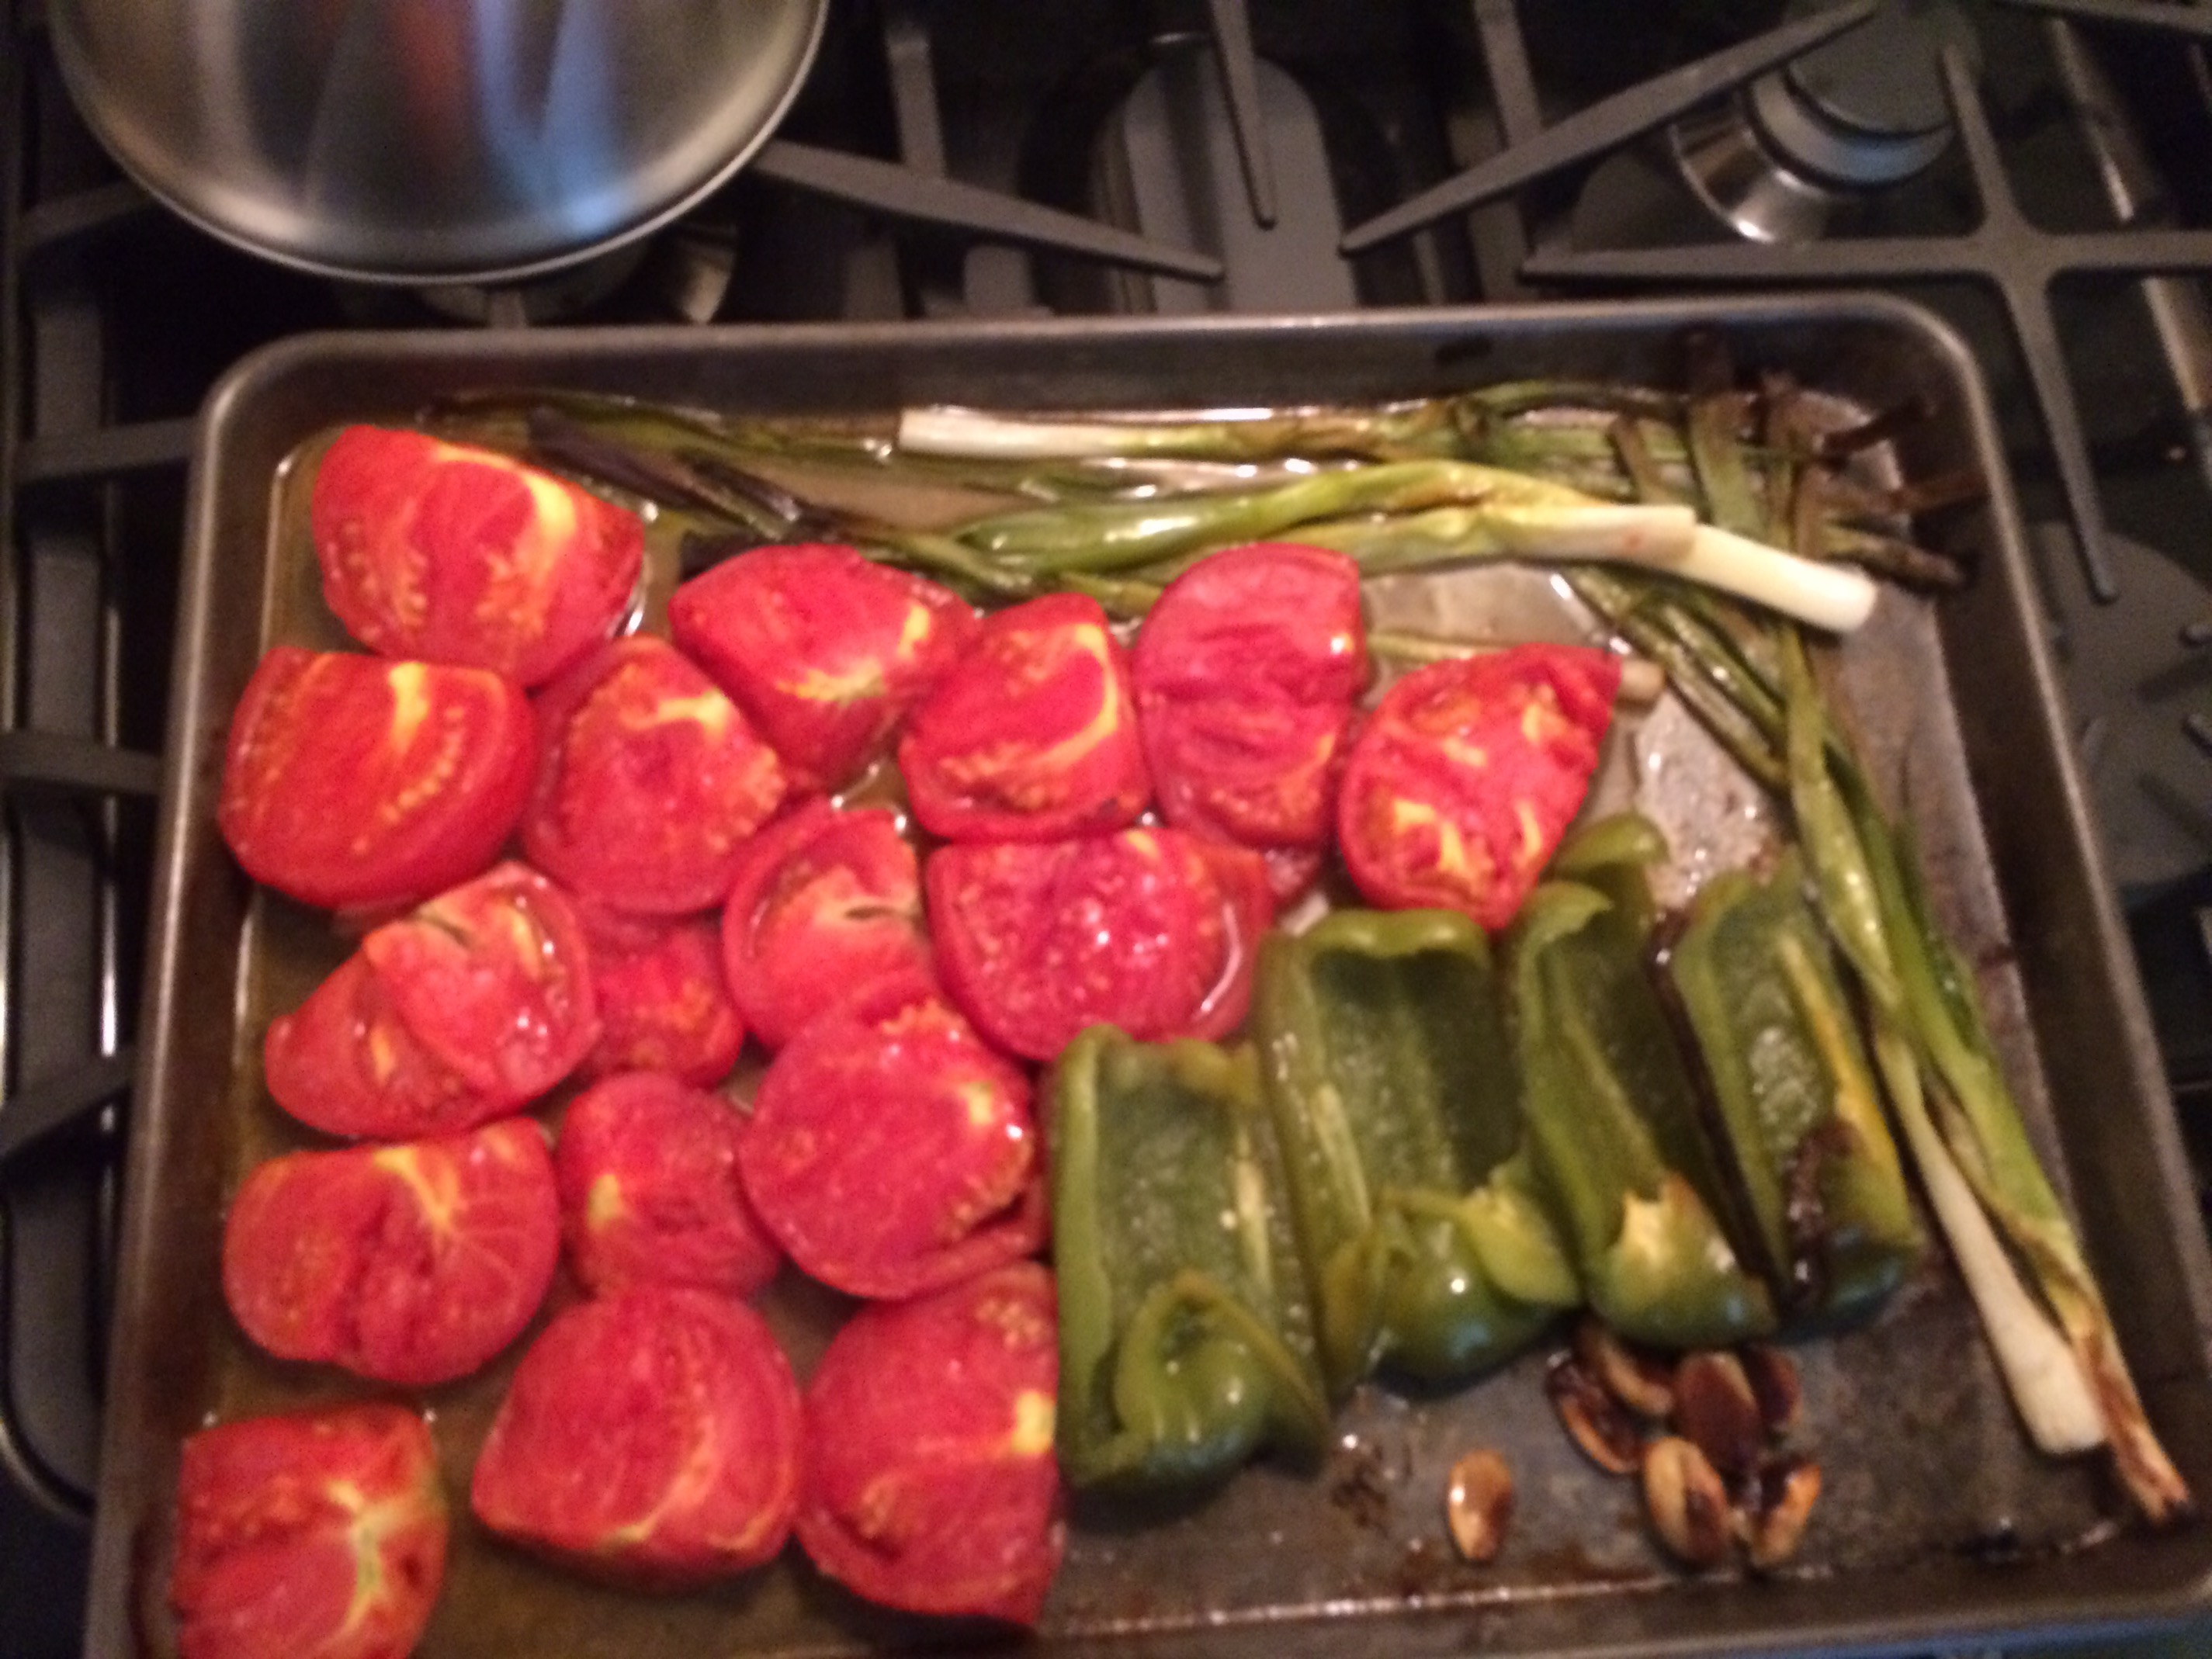
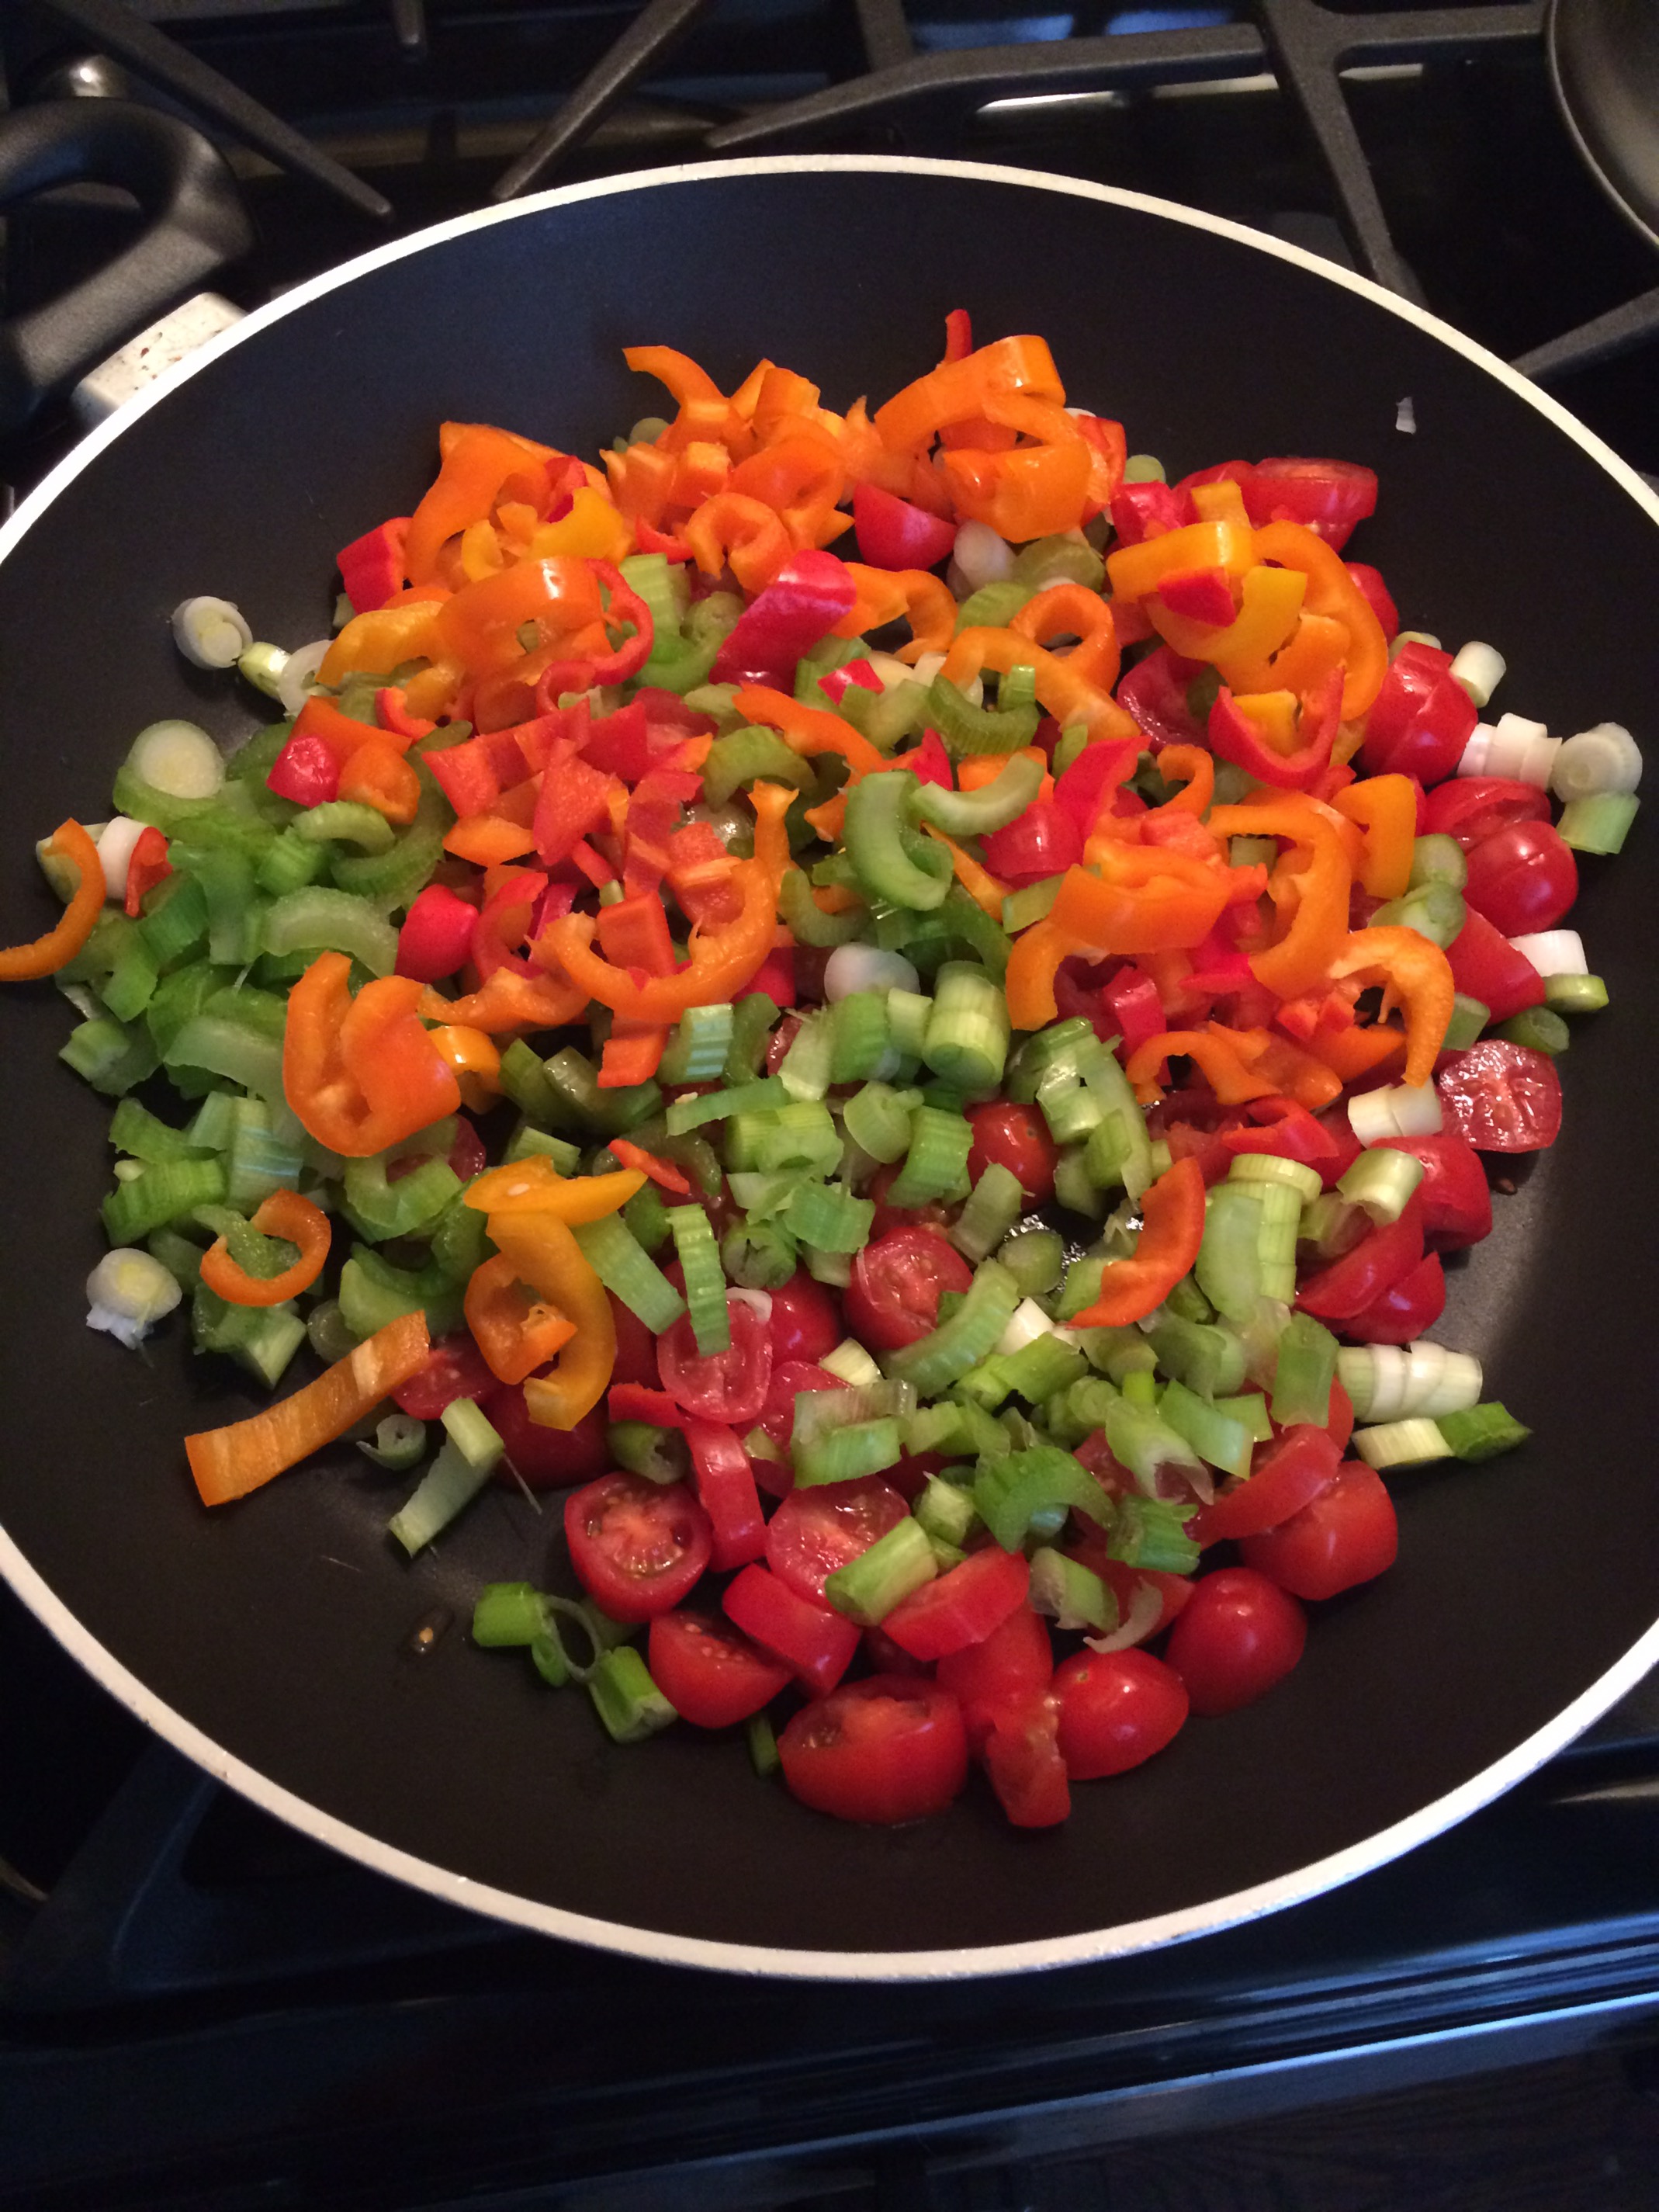
2lbs of ripe tomatoes cut in half
1 bunch of spring onions with the ends trimmed
1 large or 2 medium sized green peppers
6 garlic cloves

Place the tomatos, centers up and arrange the other veggies on a large baking sheet. Drizzle with olive oil and sprinkle with salt. Bake in a preheated 450 degree oven for 40 minutes, turning the green pepper, onions and garlic at 20 minutes.
Remove from the oven and place all the veggies in a stock pot, adding half a quart of vegetable broth. With a hand mixer, purée the vegetables until smooth.

Add the remaining ingredients:

The remaining vegetable broth
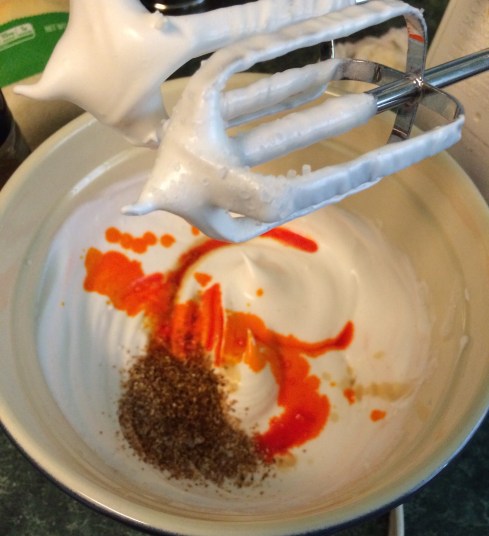
1tsp sweet basil
1tsp thyme
And my go to ingredient for every savory dish I cook…
1 TBS Sriracha Sauce

Salt and pepper to taste.
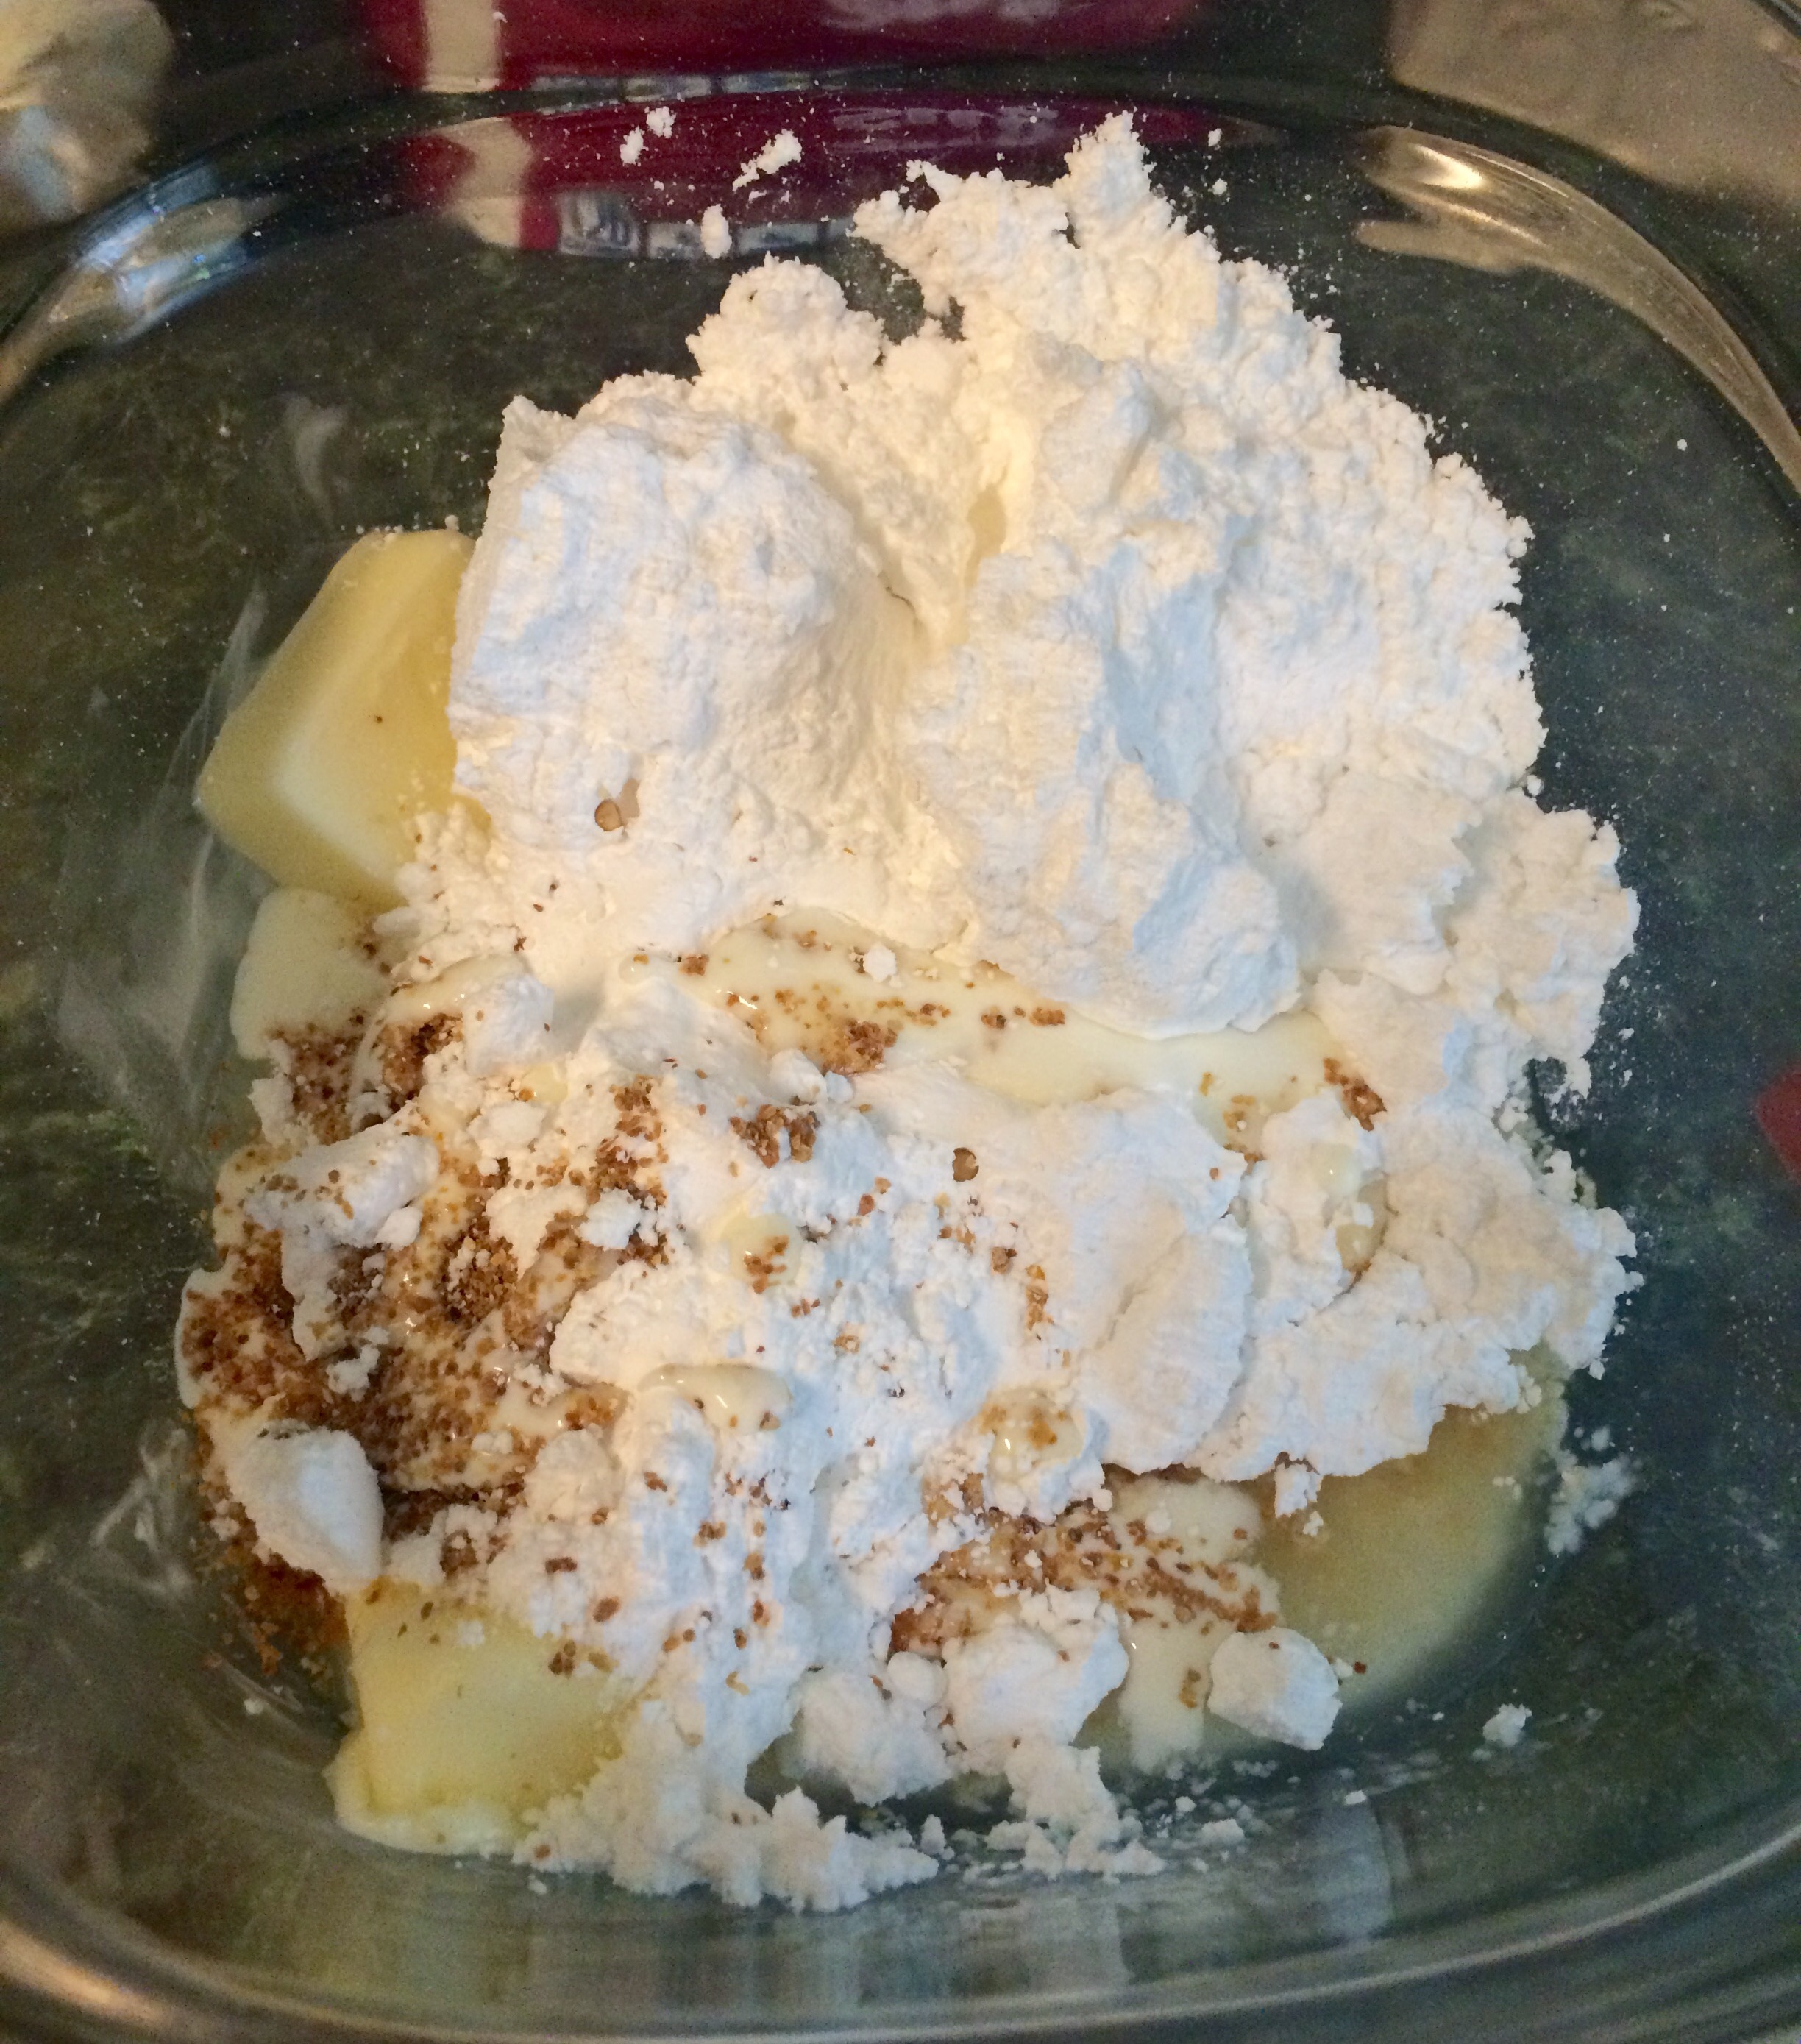
I like my tomato soup thick and hearty, so I blended 3 TBS of cornstarch to a cup of the soup and poured it back into the pot.

Simmer to a boil to thicken and incorporate all the flavors.

Serve with a side of garlic toast or my personal comfort food favorite, grilled cheese sandwiches! Enjoy!!!


